
How to paint an oil portrait?
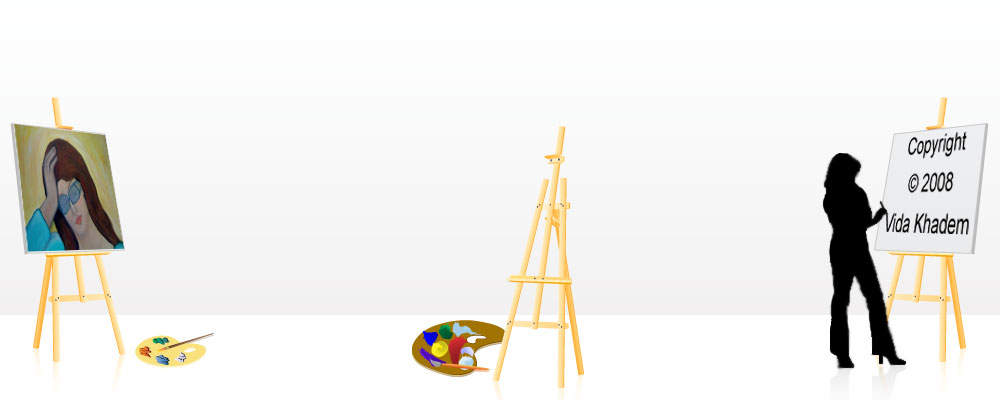
Monday, April 16th, 2012Painting an oil portrait is not the same as making a portrait in other mediums such as water color, or acrylic or even charcoal or guash. The best thing about painting an oil portrait is that if you are not happy with the movement of certain line or shade of color across the canvas, oil paint gives you plenty of time to change your mind and rework the desired section.
Depicting the likeness of someone from one glance is not easy, so sometimes it is easier to take a digital photo of your subject before hand, in the position you want, with the expression you think best fits their personality. That is, if you know the subject. However if it happens to be a stranger then you must trust your own isntinct and depict what stands out about their personality. Sometimes it is also helpful to get your subject’s involvement and take a few photos and share it with them and see which refection or portrait of themselves they prefer. This will give you plenty of time to paint the portrait in your own time.
Sketching a portrait live is also an option but it can get complicated, since most of the time, models or those sitting for a portrait don’t like being still for a very long time and fidget and move, which can distort your view as you are looking to get the details of their face drawn on the canvas. Of course another way to get the sketch of the face on the canvas is by simply taking the digital photo and projecting it on to the empty canvas, but which ever way you go, once you have the main feature of the face drawn on the canvas it is time to apply your oil paint.
Get the right shade of the color for their skin, or as close as possible to their complexion by mixing the colors ahead of time and testing the shade on a separate piece of paper. Make sure you have plenty of this mixed paint ready, or enough to cover the whole face and neck area of the portrait. This will give you the background you need to work on.
Go over the outline of the eyes and work in the right shades of colors for the eyes and pupils and eye brows. Decide where the subject is going to be looking and make sure to keep in mind where your source light is and how it is reflecting on the pupil of your subjects eyes.
Once you have mapped out the main features of the face it is time to work on the shadows on the face, nose area and neck. Again, always being aware of where the light source is.
Paint the hair last. This is because once the face is finished it is easier to bring small pieces of hair over the painted portrait rather then vice versa. Make sure to give the hair its dark and light shades as well.
Touch up some areas of the face and pupil of the eyes and middle of the bottom lip with a white oil paint for highlights. And don’t forget to add a bit of peach or pink or light rose color to the cheek bone area.
And Voila! You are done. Step back and look at your work. Let it sit over night, and look at it the next day again. If it still looks good to you, then you are done. Congrats!
But if it doesn’t, then you gotta go back to the drawing board, and keep at it until you are happy with what your eyes are looking at, only then is there a chance that someone else might also like your creation.
Best of luck. And keep on painting !